19 February 2014

Fitting

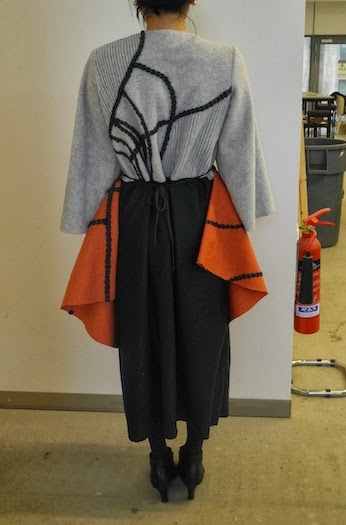
Today was the fitting day!
It's really nice to see how the dress look like on the real human body—not a mannequin!


===============================================
I have spent whole afternoon on my third garment..


Machine applique + free stitch + machine couching stitch


with the apron
==========================================
still got more hand embroidery to do..EXCITING


16 February 2014

the second garment has just been coming up..


Couching stitch outlines and blanket stitch filling. hand embroidered.

 Back

Front


11 February 2014

a week left.. and THREE garments to go.. Aghhhhhhhh!


Now I've started making the third one..
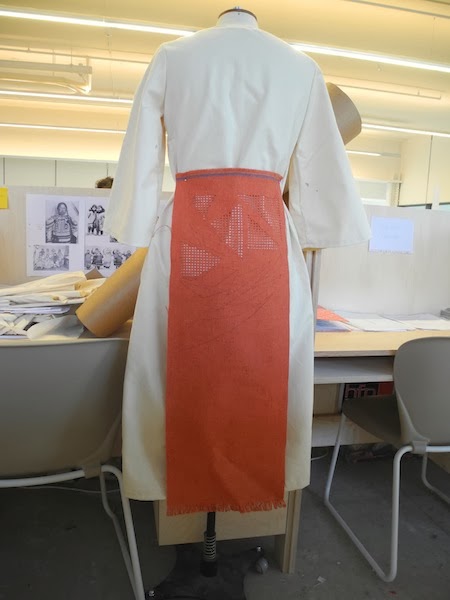
For the third look, I had two aprons both on the front and the back as it is often seen in Romanian folk costumes. The length is the same as the dress while the other two are little shorter.


Back

Side

Front

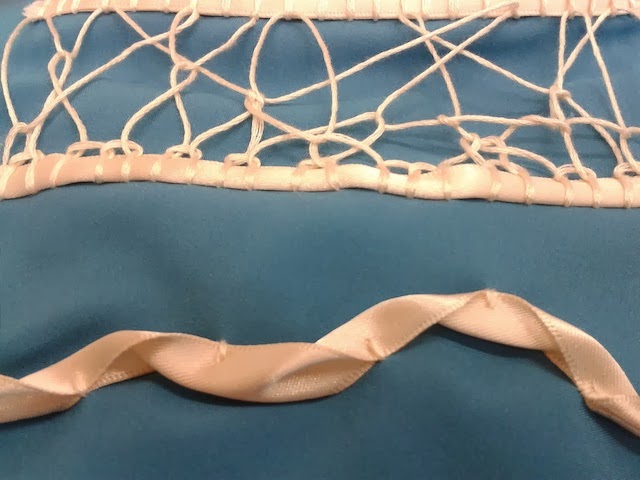
Details--the combination of drawn thread work and button hole stitch.


Recently I've been making a short film for the fashion show, and visiting other disciplines' workshop to take some videos.. it's fun :)

5 February 2014

Aprons

two of my final pieces are almost finished stitching..
There are few looks of them on the mannequin.


4 February 2014

grab your needle


Now I've got ideas for final pieces and started making the first one.

This is always the best part of the project—stitching

My very first fashion illustrations..
These are supposed to be 3 sets of a dress and an apron

This is going to be an apron.
approx. 60 x 65 (cm)

29 January 2014

be an embroiderer

I have started making technical samples. 
For this project, I'm looking at couching stitch.


I've tried Bernina computerised embroidery machine for the first time!


my scissors :)


finally I found some interesting stitch..


24 January 2014

photoshop


Those images below are edited version of photos I took yesterday.
This is primary stage of design development, so they don't look good much but I think they have potential.. I believe..


And there's another version of design development with colour. To apply and try colour out, I used paper cut outs (it's on the previous post) because photoshop cannot pick some lines which I think necessary. I have to ignore texture and detailed quality but still it's handy and quick to see the effect of colour on my design.


paper cut outs

From photos yesterday,  I have done a few paper cut outs this afternoon. I love cut-work so I was able to concentrate on and finished doing this in 5hours or so..